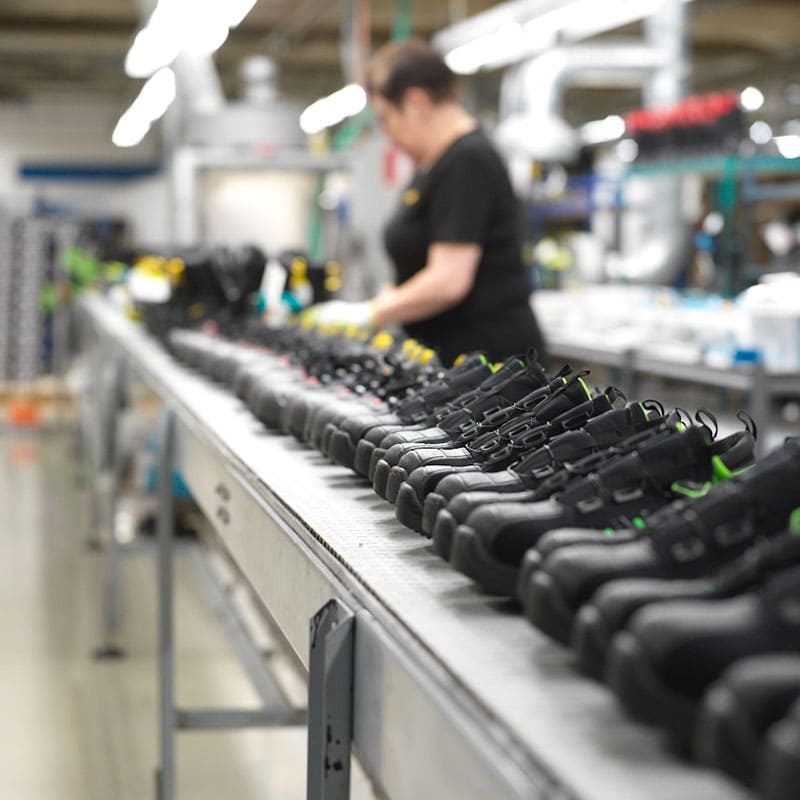
Sneakers are a type of shoe that is light and flexible. They can be worn for sports or fashion. Sneakers are made from many materials, including leather, canvas, canvas fabric, and synthetic fabrics like nylon or polyester. And do you know what is sneakers and how to make sneakers?
What is Sneakers?
in Wikipedia, Sneakers are shoes made for sports. They can come in many different styles, but the most common is a canvas or rubber outer shell with a thick sole and laces. You wear them on your feet. They are popular because they are comfortable and look good with almost anything.
Types of Sneakers:
You can choose from a variety of types of sneakers. The most common are:
Running, Hiking, Walking, Lifestyle (casual), Training (athletes, sports)
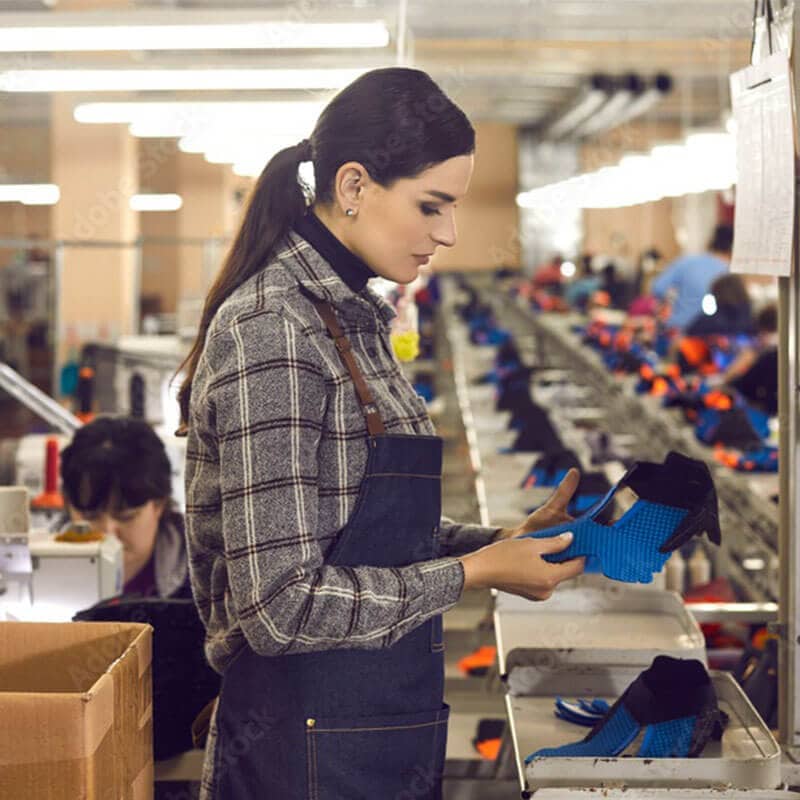
Now let me show you how to make sneakers:
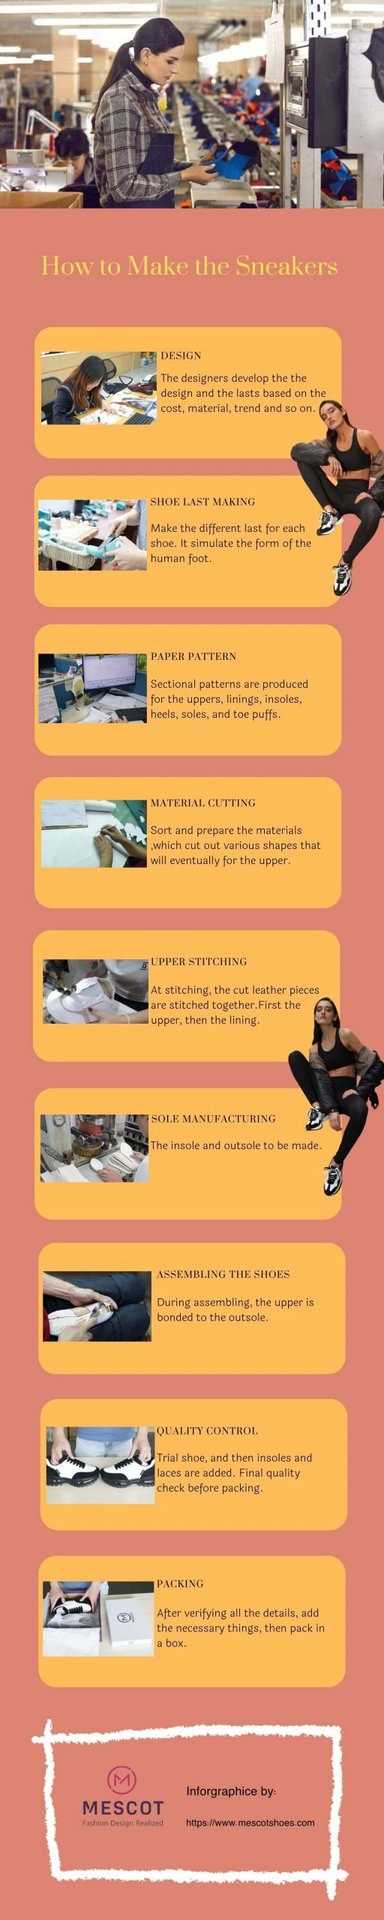
Step 1: Sneaker Design.
Design your sneaker.
You can use any sketch or computer software to design a pattern for your sneaker. Remember that you’ll need to create an exact pattern of the sneaker so that you know how many pieces of fabric and other materials you need at each stage of construction. This pattern will be the shape of your shoes when they’re done, so it’s important not to forget anything!
Make sure that all materials are ready before starting this step.
Step 2: Make a Shoe Last (A last is a plastic or wooden form that gives the shoe its shape.)
To make a shoe last, start by selecting a material that will not distort the shoe’s shape. Plastic lasts are popular for their ease of use, but wooden lasts are more durable. Many shoemakers prefer to use both plastic and wood because they each have advantages.
To begin making your own last, you’ll need:
Plastic or wooden two-part mold (you can buy this from a shoe repair shop)
A 1/2″ x 3/4″ piece of 2×4 lumber
A 1/2″ x 3/8″ piece of 2×4 lumber
Using these materials, follow these steps:
Step 3: Create a Paper Pattern.
Once you have the shoe pattern, it’s time to make your first sneaker! You can use a paper pattern and then transfer it onto the shoe material. Make sure your pattern is accurate and symmetrical by tracing it off three times before cutting out your pieces. If you’re unhappy with how things look, start again from scratch because no one wants to wear an ill-fitting pair of shoes!
Step 4: Create an Upper, Outside of the Shoe.
The shoe’s upper, or the outside, is what touches your foot. It can be made of leather or synthetic materials and typically includes an inner lining and a decorative outer fabric. For this project, we will use canvas as our outer material because it’s easy to work with, inexpensive, and comfortable to wear.
Step 5: Attach the Sole to the Upper.
The sole of your sneaker should be glued to the upper so that it can be removed easily. Use an adhesive appropriate for rubber soles, ensuring that you apply enough glue but not too much.
Step 6: Assemble Your Shoes.
Now it’s time to put your shoes together! The first thing you’ll want to do is attach the soles. This part can be tricky if you have never done it before, so follow our instructions closely.
Next, attach some laces and an eyelet or two. You might need some help with this part if you’re new at assembling sneakers—lots of tiny pieces need to go in just the right place!
Now add a lining inside one shoe, and then use glue on both sides of an outsole (make sure not to get any glue on your hands). Press them together until they stick securely into place; repeat with another pair for good measure.
Step 7: Quality Control.
Quality Control is an important part of the manufacturing process. It should be done in every step of the manufacturing process and should not be left up to the manufacturer. A third party should do quality control and use a competent person to conduct the QA activities.
Step 8: Packaging and Shipment.
Now that you have finished the shoes, it is time to package and ship them. We are going to use a box for shipping this pair of shoes. First, measure the shoe width with a piece of paper and then draw a rectangle around it on another sheet. Cut out this rectangle from your sheet and fold along its lines so that it becomes an envelope shape that can hold one shoe in place.
Cut out more envelopes but leave enough room between each, so they don’t stick together when folded over one another. Next, arrange these pieces around your first pair of sneakers according to their size and how much space they take up inside the main envelope (you may need some help with this part if there are many people involved).
Once everything has been arranged properly inside their respective boxes, place them into larger boxes so that each smaller box sits safely in its spot without moving around too much during transit (we recommend putting bubble wrap between each layer).
Finally, seal all sides with packing tape before labeling them appropriately using markers or stickers! Congratulations! You’ve made your first pair of custom sneakers!
With all of the steps above, you will be able to know how to make sneakers. You can also follow our tutorial on how to make a shoe last or try out our DIY shoe design tool if you want some help designing your shoes.